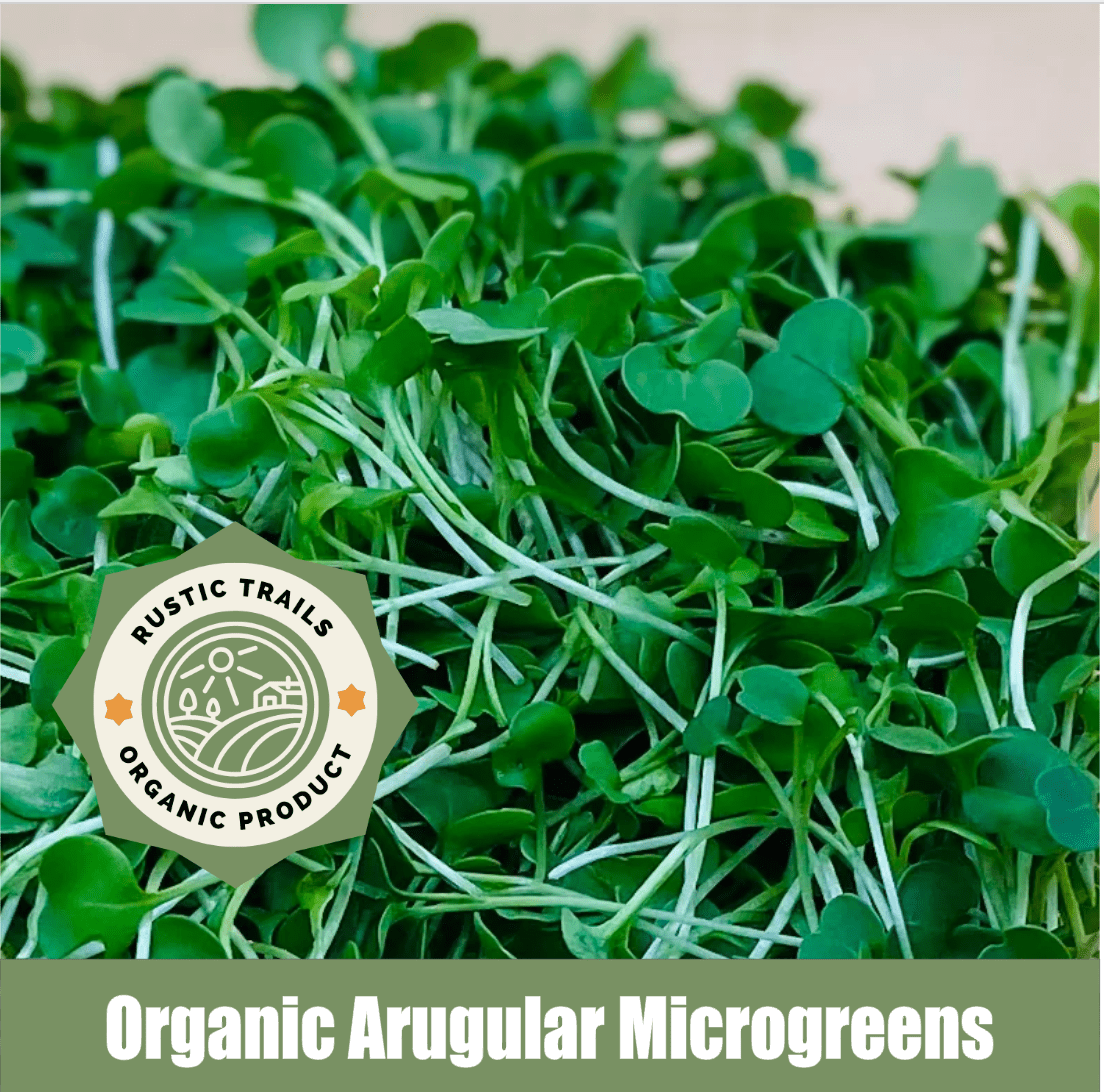
Arugula, also known as rocket or roquette, is a leafy green vegetable with a peppery taste. It is a member of the Brassicaceae family, which includes other cruciferous vegetables like broccoli and kale. Arugula is often used in salads, sandwiches, and pasta dishes, and is a great source of vitamins A, C, and K, as well as folate, calcium, and iron.
Arugula, also known as rocket or roquette, is a leafy green vegetable with a peppery taste. It is a member of the Brassicaceae family, which includes other cruciferous vegetables like broccoli and kale. Arugula is often used in salads, sandwiches, and pasta dishes, and is a great source of vitamins A, C, and K, as well as folate, calcium, and iron.
Growing arugula microgreens is a quick and easy way to add a fresh, nutritious burst of flavor to salads, sandwiches, and other dishes. Here are the steps to grow arugula microgreens, as well as the materials needed:
Materials needed:
Steps to grow arugula microgreens:
Growing arugula microgreens is a fun and rewarding way to add fresh, nutritious greens to your meals. Enjoy!
To grow arugula sprouts, you will need the following materials:
Directions:
In terms of medicinal benefits, arugula has been found to have anti-inflammatory properties and may help to reduce the risk of cancer and heart disease. It is also high in antioxidants, which can help to protect the body against oxidative stress. Additionally, arugula is low in calories and high in fiber, making it a great addition to any healthy diet. However, as with any herbal remedy, it is important to speak with your healthcare provider before using basil for medicinal purposes